Installing Default PX4 Firmware
For your first flights using the Bixler, you will be using the default PX4 firmware which will be installed using QGroundControl. You will also need to configure several aspects of the hardware. To guide you through the process please follow these steps:
-
If you have not installed QGroundControl yet, please make sure to install it from these installers.
-
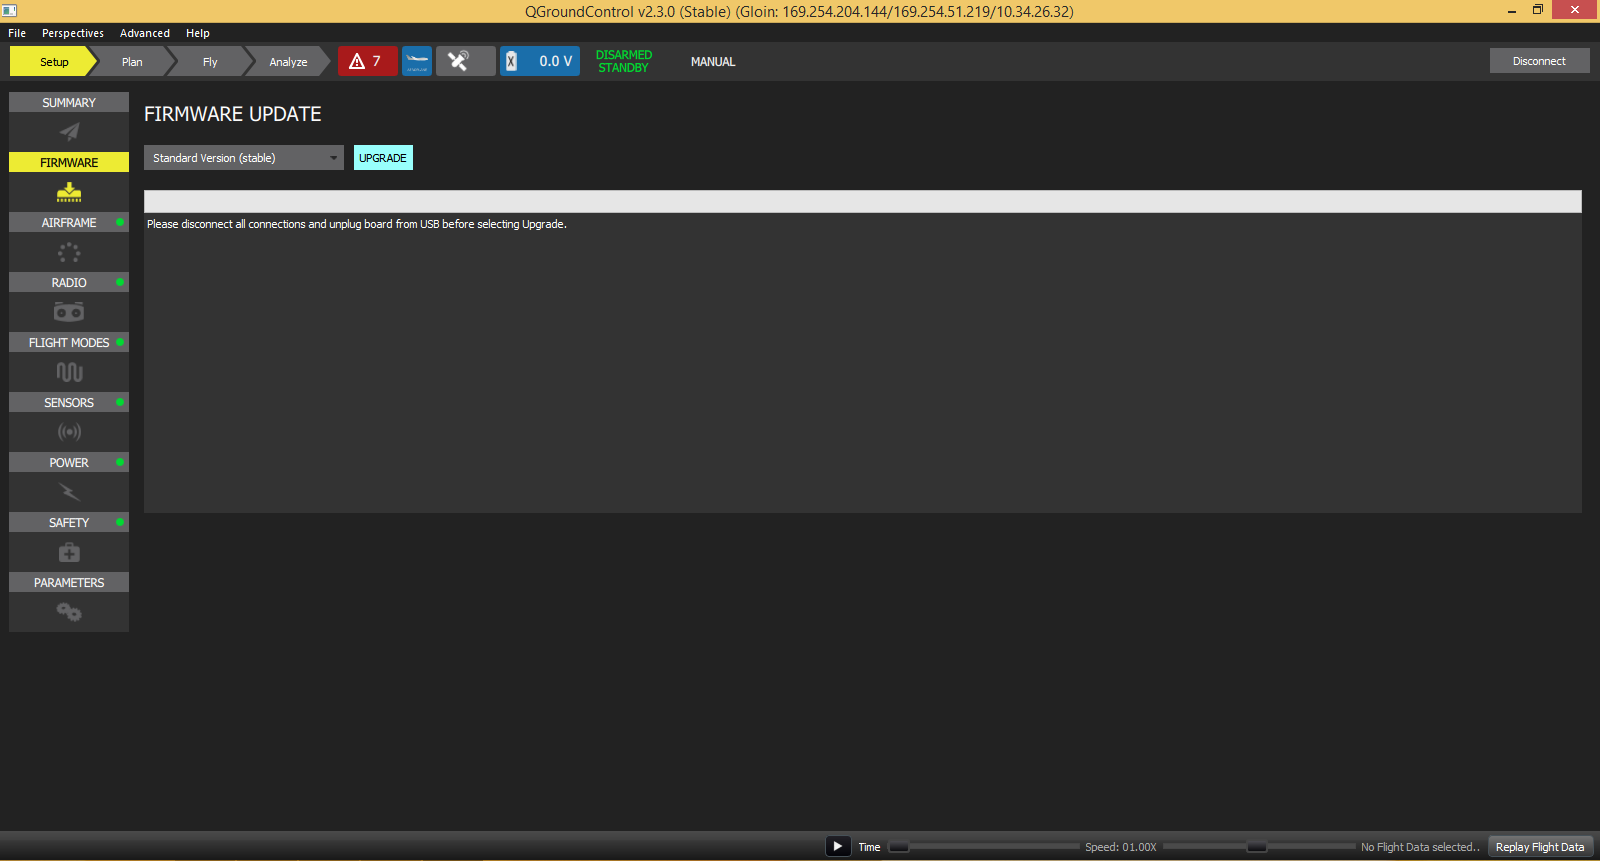
On the initial screen shown below, press UPGRADE and follow the instructions to install the PX4 firmware.

Completed installation:

-
Make sure your Pixhawk is still plugged in and add a communications link to connect to the pixhawk.
In the top right, select on add link, or go to File -> Manage Communications Links to open the comms link manager. On the following screen select add

Then fill out the information for your link.

Notes on link connections:
- Link menu should automatically fill in the correct COM port (usb-modem for you mac folks), if it does not, you can find it in the device manager
- Make sure you have selected the correct baud rate
- Hardwired connections to the pixhawk have baud rates of 115200
- Wireless connections to the pixhawk (through the 3DR radio) have baud rates of 57600
- QGroundControl may sometimes take a while to display all the information once a link is established
-
Connect to the pixhawk by selecting Connect in the top right. Should get to the Setup window: